Wednesday, April 23, 2008

EDraw - Draw detailed Computer Diagrams and Symbols

Network Symbols

Draw detailed Computer Network Diagrams, Designs, Schematics, and Network Maps with EDraw in no time! Pre-drawn network symbols representing computers, network devices plus smart connectors help create accurate diagrams and documentation. Special libraries of highly detailed, accurate shapes and computer graphics, servers, hubs, switches, printers, mainframes, face plates, routers etc. for Computer Network, Telecommunications, Wireless Internet, Power, Storage and other equipment. All the symbols are free to download.

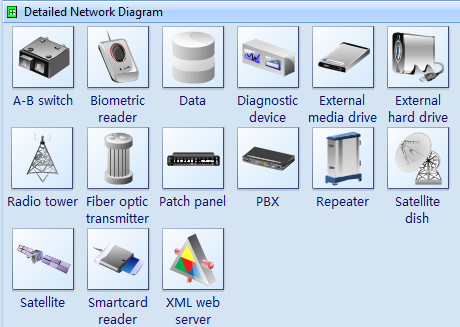
Detailed Network Diagram Symbols

Detailed Network Diagram Symbols

Network Physical Devices Symbols

Network Physical Devices Symbols

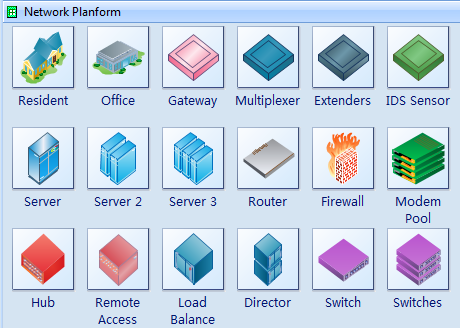
Network Planform Symbols

Network Planform Symbols

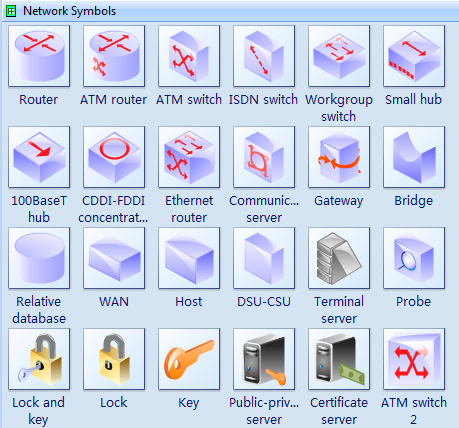
Logical Network Symbols

Logical Network Symbols

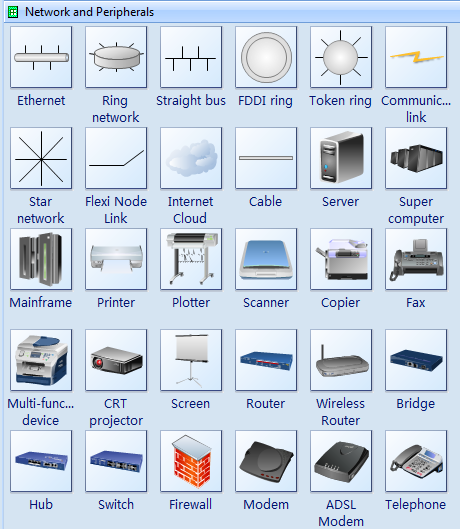
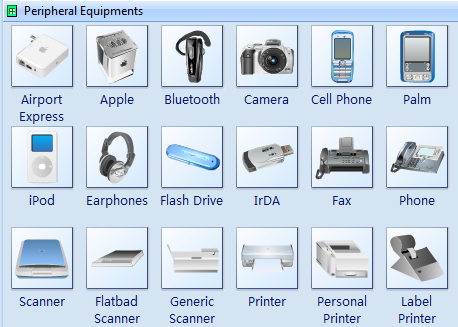
Network and Peripherals Symbols

Network and Peripherals Symbols

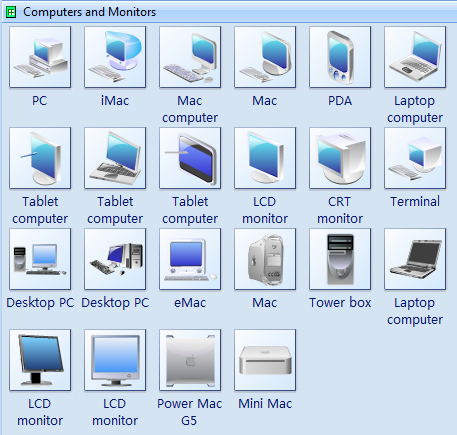
Computer and Monitor Symbols

Computer and Monitor Symbols

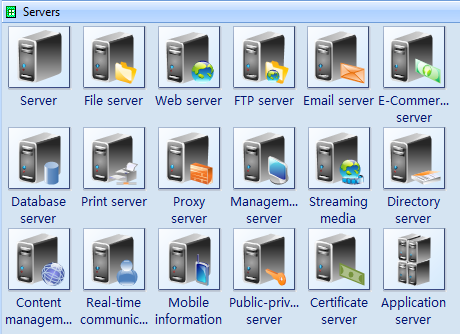
Servers Symbols

Servers Symbols

Need fresh looking network symbols for your network diagrams? These network symbols are a cinch to pop in. And their crisp, fine detail will make spectacular, easy-to-understand diagrams and presentations to your customers. With the wide variety of LAN and WAN symbols in this set, you can make changes quickly and easily.

Installing Windows XP on the Asus EEE PC USB flash drive

Installing Windows XP on the Asus EEE pc using a single USB flash drive.


To complete this tutorial you need a 32bit version of Windows XP or Windows Vista installed on your home PC.

What you'll need:
USB_PREP8 (alternative download)
PeToUSB (alternative download)
Bootsect.exe (alternative download)
Special Note: If you use the program Nlite be sure to keep the manual installation files as the USB_prep8 script relies on these files.

Extract the files in Bootsect.zip
The next step is to extract USB_prep8 and PeToUSB.
Next copy the PeToUSB executable into the USB_prep8 folder.
Inside of the USB_prep8 folder double click the executable named usb_prep8.cmd.

The window that opens will look like this:


Press any key to continue

You next window will look like this:
These settings are preconfigured for you all you need to do now is click start.
Once the format is complete DO NOT close the window just leave everything as it is and open a command prompt from your start menu (type cmd in the search bar or run box depending on your version of windows.).

Inside of the command windows go to the directory you have bootsect.exe saved.
(use the cd directoryname command to switch folders)

Now type "bootsect.exe /nt52 R:" NOTE R: is the drive letter for my USB stick if yours is different you need to change it accordingly. What this part does is write the correct boot sector to your USB stick, this allows your PC to boot from the USB stick without it nothing works.
Please note: When running the bootsect.exe command you cannot have any windows open displaying the content of your USB stick, if you have a window open bootsect.exe will be unable to lock the drive and write the bootsector correctly.

If all went well you should see "Bootcode was successfully updated on all targeted volumes."

Now you can close this command prompt (don't close the usbprep8 one by mistake) and the petousb window.

You window you see now should look like this:

If it doesn't try pressing enter.

Now you need to enter the correct information for numbers 1-3.
Press 1 and then enter. A folder browse window will open for you to browse to the location of you XP setup files (aka your cdrom drive with xp cd in)
Press 2 and enter a letter not currently assigned to a drive on your PC
Press 3 and enter the drive letter of your USB stick
Press 4 to start the process.

The script will ask you if its ok to format drive T:. This is just a temp drive the program creates to cache the windows installation files. Press Y then enter.

Once it's done formating press enter to continue again, you can now see the program copying files to the temp drive it created. Once this is done press enter to continue again.

Next you will see a box pop up asking you to copy the files to USB drive yes/no you want to click yes.

Once the script has completed copy files a popup window asking if you would like to USB drive to be preferred boot drive U: select YES on this window.

Now select yes to unmount the virtual drive.

Ok we are done the hard part, close the usbprep8 window.

Now make sure your EEE pc is configured with USB as the primary boot device.
Insert your USB drive and boot up the EEE.

On the startup menu you have two options, select option number 2 for text mode setup.

From this point on it is just like any other windows XP installation delete/recreate the primary partition on your EEE pc and format it using NTFS. Make sure you delete ALL partitions and recreate a single partition or you will get the hal.dll error message.

Once the text mode portion of setup is complete it will boot into the GUI mode (you can press enter after the reboot if your too excited to wait the 30 seconds)

Once the GUI portion of setup is complete you will again have to boot into GUI mode this will complete the XP installation and you will end up at you XP desktop. It is very important that you DO NOT REMOVE THE USB STICK before this point. Once you can see your start menu it is safe to remove the usb stick and reboot your pc to make sure everything worked.

This method has advantages over all current no cdrom methods of installing XP to the EEE. You do not have to copy setup files in DOS to the SSD and install from there. It gives you access to the recovery console by booting into text mode setup, and it gives you the ability to run repair installations of XP if you have problems later on.

If this is succesfull, please leave a comment!

eeeguides.com

Bamboo Fun

OK, time to take a break from TF2 (Team Fortress 2) for a bit, and review an item! (Actually, it’s been sitting on my desk since Tuesday, the 18th.)

Yay! My first tablet has arrived! I got it at Buy.com for a cool $92. I specifically got the Wacom Bamboo Fun (the Small, Silver version). This tablet JUST came out on Saturday (Sept. 15th!) and there were no reviews for it, so I’ll possibly be one of the first. The tablet’s active area is 6 inches wide and 4 inches high.

When you go to first open the box, look at the bottom of it! That’s where you open it! I almost ripped my whole box in two because I started at the top…figures they’d do it backwards.

Please leave your mouse on a picture to see a tooltip description of it.
Click a picture to see a bigger version of it.

The Box The Box - InsideBamboo 'Fun' indeed

Let’s start to look at the actual product:

The tablet/pen Mouse & Software case The pen/extra tipsUSB Cord & Pen Stand

And finally, the software. The black CD has the software/drivers on it, specifically Pen Tablet Driver v5.03. Everything works fine with Vista Ultimate 64bit.

Extras Software

Finally, here’s everything laid out in the real world, not some flashy marketing website:

Finally out In placeGlowly blue

FYI: That blue ring above pulsates slowly while the tablet isn’t in use, and I don’t think there’s a way with the software to turn it off. There’s no updated software or drivers for this product yet on Wacom’s website (it’s not even listed under Downloads!) as the product is just so damn new!

The software itself is very useful. It’ll bring you through a painless driver install, along with a nice tutorial, which teaches you how to use the pen and mouse. What’s nice about it is that you can tell the tablet’s active area what to span: a specific portion of one monitor, a whole monitor, or even multiple monitors! You can even set a specific portion of the tablet active to keep it in check with the same proportions as your monitor, as most flat panel monitors today aren’t a native 4:3 ratio, and this tablet is.

I opened up ArtRage and started drawing…very cool! You’ll probably need to adjust the pressure sensitivity to match what fits you best, but it’s a great experience to see your ideas come on screen at the flick of a pen. I tried the mouse for a bit and then shoved it in a drawer. I’m not really interested in it as I already have another mouse, but hey…fun extra! The bad thing about this is that the mouse only works on the active area of the tablet itself.

One of the main differences between the Bamboo and the Bamboo Fun is that the Bamboo Fun comes with software, a mouse and the pen itself has an eraser on the other end, while the Bamboo Fun lacks all these things. The $20 difference in price point also nets you the option to choose a couple different colors. I say for $20 more, get all the options! Adobe Photoshop Elements 5.0 for Windows (4.0 for Mac) is worth over $100 alone…I should know, as I already own it! It’s a very useful piece of software, and fits all but the most professional needs. (That’s what the real Photoshop is for!) I have no idea about the other software — Corel Painter Essentials 3.0 and Nik Color Efex Pro 2 GE — but from what I’ve seen from Wacom, I’m sure it’s not as crappy as some of the other software I’ve seen thrown in with printers or cameras.

I hope I helped any potential buyers! (Source:thinkinginpixels.com)

How to make Bart PE Recovery CD using PE Builder

Prepare the Bart PE Recovery CD

First, you’ll need to download the installer for Bart PE. Some guy named Bart Lagerweij has made a program that creates a bootable CD with a mini version of Windows XP on it. He knows his stuff. To download the latest version from his site, go here. If you’re in a hurry, I have archived Bart PE v3.1.10a right here.

Now that you have Bart PE, install it. After it’s installed, you should get a screen similar to this:

bpe1

Now, download this plugin, known as RunScanner. Since Bart PE is basically a mini version of Windows XP, it has it’s own registry, but you don’t care about editing that, you want to edit the registry of the unbootable machine! RunScanner will load just that upon the startup of Bart PE so it can be done. To download the latest version from the author’s site, go here. If you’re in a hurry, I have archived RunScanner v10015a right here. For those interested, this program is very tweakable. The author has advanced usage instructions on his website here. Now that you’ve downloaded the plugin, please leave it in .CAB form.

Lastly, right-click and save this file: FixLogOnOffLoop.reg. Yep, that little file right over there will save your computer! Please leave the name and file extension alone. Please save this file in its OWN folder on your Desktop.

UPDATE Nov. 12th, 2007: It seems there’s a virus going around, or something. Copy the userinit.exe file from C:\Windows\system32\ directory to the directory you just made on your Desktop above. Only do this if the normal instructions don’t work.

Now that all of that is done, let’s get back to Bart PE.

Pop in your Windows XP CD, close the autorun screen if it pops up, and set the first option to the drive letter that contains your Windows XP CD. Mine in this case, is U:. Next, point the second option to that directory you saved FixLogOnOffLoop.reg to. Mine in this case is C:\Documents and Settings\Wolf\Desktop\PE.

bpe2

Next, hit F4, or go to Builder -> Plugins. A screen like the one below should come up:

bpe3

Select Add, then find RunScanner10015a.cab and select it. Scroll down the list and see if it’s there. Also, make sure it’s enabled. After it’s all been checked out, click Close. Set it to burn a CD with CD-Record using your CD burner/writer by clicking Build. Depending on how fast your burner — and your computer in general — is, it should be done in a matter of minutes.

Now that the CD is burnt, it’s time to go over to the computer that is not booting, and fix it up!
Saturday, April 12, 2008

WindowsBlinds

WindowBlinds is a one-of-a-kind utility that allows Windows users to completely change the look and feel of the Windows interface by applying a new skin. There are thousands of different skins to choose from that are freely downloadable from the WindowBlinds website.

A WindowBlinds skin can make Windows look like an alternative operating system, like their favorite sports or car brand, or something completely new. Because WindowBlinds uses the latest hardware acceleration features of modern video cards, WindowBlinds won't slow down your computer and uses very little memory.

WindowBlinds is safe and easy to use. It doesn't alter any system files and users can switch between the default Windows look and feel and a custom WindowBlinds skin with the click of a button. In addition, WindowBlinds has been tested to ensure it works with Windows Vista, so you know it is compatible, reliable,, and more secure.


Screenshots:


http://www.stardock.com/products/windowblinds

Aston Desktop Theme

Aston is a shell replacement application, which gives you to get a completely new, powerful and easily configurable desktop, making your computing a more pleasant and productive experience.

Aston completely replaces your old desktop with a new one, providing numerous additional features and saving your computer's resources for more necessary tasks. By installing Aston you get a lot more than just a fancy look, you get a more efficient way of using your computer.


www.astonshell.com


Winstep Desktop Theme

The Award-Winning NextSTART, by Winstep Software Technologies , is a powerful, skinnable, and dynamic pop-up menu system that can be used as a replacement or supplement to the Windows Start Menu and Taskbar. NextSTART also offers an incredible amount of flexibility so that the user can customize it to his needs and wishes.


www.winstep.net