By Eric Vaughan
There is often more than one way to do things "the right way". Installing and setting up an operating system is no exception to this. This guide is based on my experience working with XP since RC1, doing more custom installations than I can count, and interaction/discussion with other geeks. I have found this method to offer the best results for performance, stability, and error free installation. I make no guarantees. If you have a problem it is more than likely your hardware and/or its drivers, or you didn't follow the drivers installation instructions.
If you just want to see the order I use to install XP and its apps, click HERE.
Wanna know exactly how I do it? See: How I Install Windows XP
* Please read through this entire guide before doing anything.
**If you are on a broadband connection. Make sure you are behind a firewall router before installing XP.
Can I Use XP?
Check with Microsoft to make sure your system meets the requirements ( more on that follows). Check here for XP Pro and here XP Home. The Microsoft Hardware Compatibility List is also a good starting point. Some inexperienced folks think it's a myth that XP needs high end hardware to run. Well...it doesn't exactly take high-end hardware but Microsoft's specs are, quite frankly, a joke. "Run" is the optional term here, I've seen it "run" on a lot of stuff. On anything less than 800 MHz, with 256 of RAM, sure it "runs"... like a 3-legged turtle in quicksand. My recommended minimum specs: 1 GHz with 512 MB of RAM.
Which Version?
Since XP was released there has been considerable argument and misinformation over which version is best. The vast majority of people will find XP Home more than adequate. For a view of the differences and recommendations from Microsoft go here: Five editions of Windows XP compared.
Backup Everything!
Save all your docs, picture, music, email settings, and files to another computer and/or removable media such as an external drive or CD/DVD.
A very useful FREE tool for this is Microsoft's SyncToy v1.0 for Windows XP.
It is a good idea to fully update your anti-virus software and do a full computer scan before doing this.
If you use an imaging program like Acronis True Image I highly suggest making a final image of you entire drive before continuing in case something goes horribly wrong. This should be written to a CD/DVD.
Download What You'll Need
Download Service Pack 2
If your XP CD does not have Service Pack 2 then download Service Pack 2. After you do this I would HIGHLY RECOMMEND you make a slipstreamed Service Pack 2 Installation Disk.
"Slipstreaming" refers to integrating something (in this case SP2) into the Windows XP disk. This makes for a faster, cleaner, safer installation.
For a simple slipstream only guide I like:
Paul Thurrott's Slipstreaming Windows XP with Service Pack 2
For an advanced slipstreaming and installation customizing guide see:
MSFN's Creating the ultimate Unattended Windows XP CD
For an advanced slipstreaming and installation customizing program check out nLite.
I've like all 3 and have used them without issue.
Download Drivers
Download and install a System Information Tool. The three I prefer are:
SIW, SANDRA Lite 2005.SR2, Everest .
Use the information from these tools to determine your hardware and download the latest drivers from the vendors. If your components are "built-in" (mounted on the motherboard) then see the Motherboard or System Manufacturer for drivers. If you have older hardware (+ 1 year) chances are XP w/SP2 already has sufficient drivers and Windows Update may have the drivers or updated drivers. If your hardware is newer than Service Pack 2 then it should have come with a CD containing those drivers. Still, it doesn't hurt to go to your manufacturers download site and check to see if you have the latest version of everything. Video cards seem to have new driver updates more than most hardware and you will absolutely want the latest drivers for them. FWIW - There are often different versions of drivers (WHQL, beta, alpha, etc.). Personally, unless I'm doing testing, I usually only use WHQL drivers and usually after they have been out a week or more. Let someone else discover if they have issues or not. The important drivers are:
-Motherboard - these are most often referred to as "Chipset Drivers".
(yes fellow geeks I know, but that is a good enough description for those using this guide)
-Video
-Sound
-Storage controllers - things like SCSI, SATA, ATA, or RAID cards/components.
NIC & Modem drivers - NIC = Ethernet card
Popular vendor links:
Prepare Your Computer
Turn off your power supply and monitor. Unplug the power supply. Now unplug everything from the back of the computer. Take the left side (as you look at the front) of the computer case off. On some cases the top and sides are one piece, if so remove the whole thing. Vacuum the inside of the computer, especially around the fans. It may be necessary to remove the front cover to adequately clean in front of the front fan. A can of compressed air helps tremendously with this.
This is a great time to add any hardware!
Put it all back together. Plug everything back in. Turn on your power supply. Start up the computer and make sure everything works. Shut it off again.
Installation
*Note to wi-fi users. I recommend you use a wired connection for everything until XP is completely setup. Disable the wi-fi connection on first boot or as soon as you get the drivers installed. To disable the connection Open your Network Connection Properties, go to Start > Run > type control ncpa.cpl exactly as you see here > right-click on the wi-fi connection and choose disable.
Start your computer and insert the XP disk. If your computer supports booting from a CD you may need to change the bios startup options. The key you press to access the bios may differ depending on the make of your computer. Most use the DELETE key, if not then it will be one of the FUNCTION keys (F1, F2, etc.) Save changes and exit. If your computer does not support booting from CD then insert the first Windows XP floppy disk.
As the system boots you will see a message at the bottom of the screen:
"Press F6 if you need to install a 3rd party SCSI or RAID driver." If you do, follow the instructions.
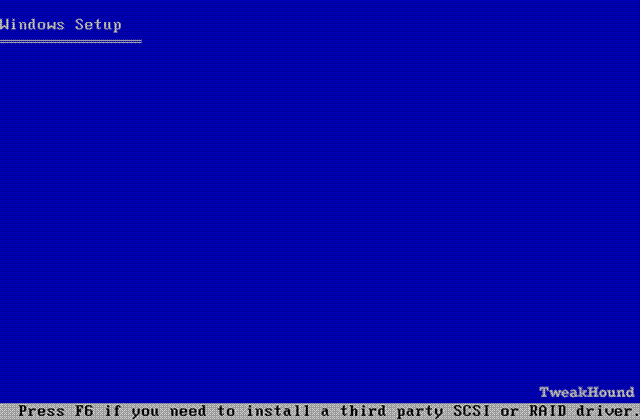
Now setup begins. If you had another Operating System on your computer you will be asked what type of installation you want to perform. NEVER, EVER UPGRADE AN OPERATING SYSTEM!!! You will perform new installation.
There are many reasons to do a clean installation rather than an upgrade. They all boil down to 2 important ones. Less chance of errors and performance. The following statement from Microsoft can be found here: Benchmarking on Windows XP.
| Clean Installation Preferred
When benchmarking Windows XP, Microsoft strongly recommends a clean installation using NTFS. There are several reasons why performance for a clean installation will tend to be superior to that for upgraded systems. An upgraded system will constrain the placement of files and file system data. The old disk format may not use an optimal file system cluster size. In a clean installation, the placement of file system data on the disk and the internal organization of that data can be optimized, resulting in a smaller system footprint and fewer and faster I/Os when using the system.
When performing a clean install, Microsoft recommends that NTFS be used and that the system be installed in a single partition on each disk. Under Windows XP, big partitions are better managed than in previous versions of Windows. Forcing installed software into several partitions on the disk necessitates longer seeks when running the system and software.
If you do choose an upgrade from Windows 2000 or Windows 9x, you may be working with a FAT32 file system. Performance will generally be better if the file system is left as it is, rather than converted to NTFS. A partition converted from FAT32 to NTFS may have to use 512-byte clusters, rather than 4096-byte or 8192-byte clusters, which can result in a higher number of fragmented files. |
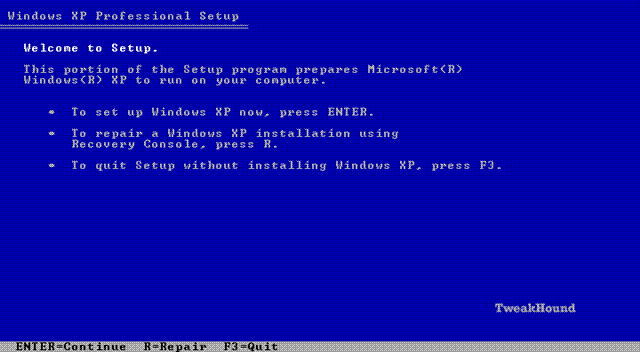
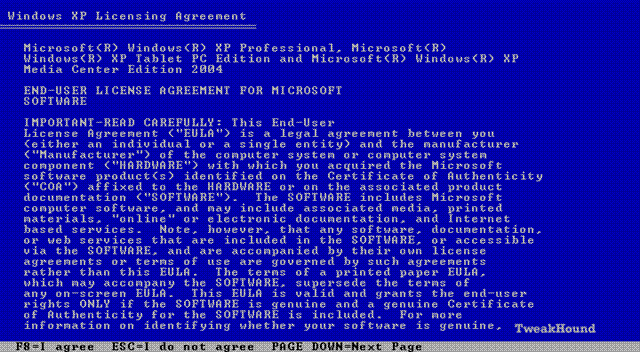
Next comes the ever popular EULA, press F8 and move on.
If there are partitions on your drive press D to delete them. Then press C to create a new partition.
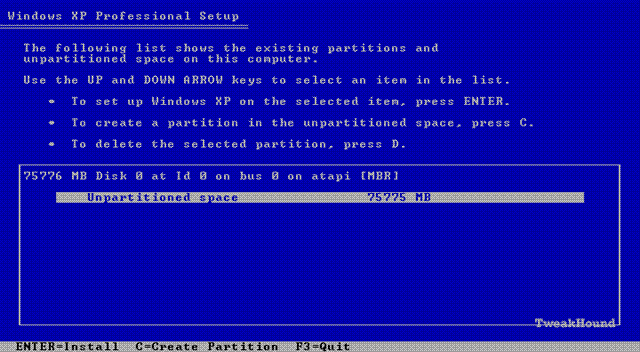
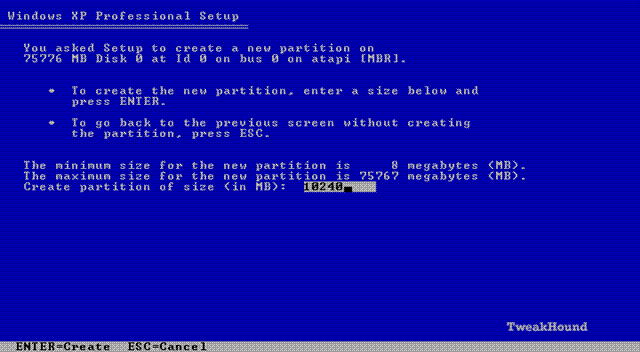
If you create or resize partitions BE CAREFUL, you will destroy data on other partitions if you do this. On a computer with a single hard drive I usually use a partition of around 10gb for Windows XP. I install the applications on the same drive and I use a backup program. It makes things easier. If you desire the utmost speed and efficiency, put Windows XP and the applications on a drive by itself with no other partitions. Given the size of hard drives these days this may be expensive and/or impractical. After pressing C the following screen will appear. Type in a size for your partition and press the Enter key.
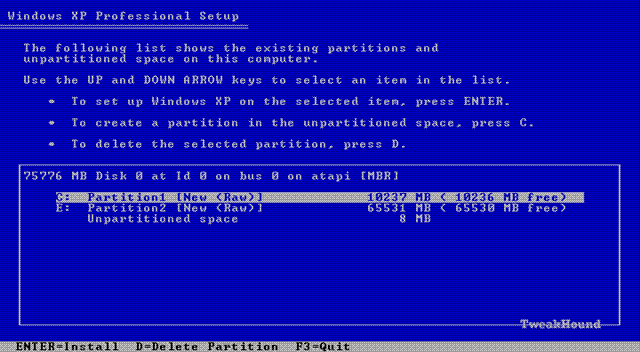
If everything looks right, use the arrow key to highlight the correct partition (should be C:) and press the Enter key.
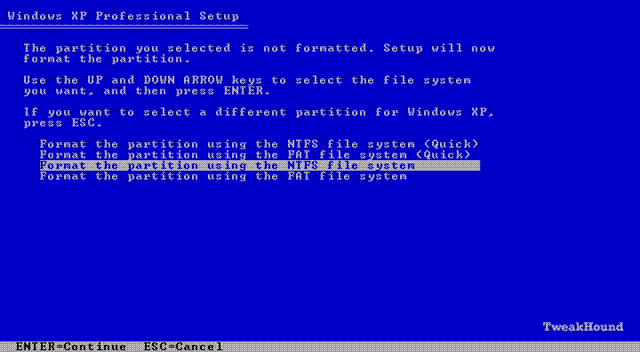
Format this partition using NTFS. Personally I think it's best not to use the "Quick" option. Using the standard option checks the disk for bad sectors. This will take a while. Some people have asked "I've heard that FAT32 is faster, why use NTFS?" First NTFS is only about 1-2% slower than FAT32 and only on drives/volumes 32GB in size or smaller. It is faster because of the overhead created by the security of NTFS. Second, you can eliminate the majority of that overhead by following my tweak guide. Third, the aforementioned security is exactly why you should use NTFS!
After formatting the setup files will be loaded and the system will reboot. At this point if you had a floppy in the drive then remove it.
(click on Thumbnails for a larger view)
As setup begins you'll be asked to fill in some info. Most are self-explanatory. Click on the Thumbnails for larger views if you desire.

Windows will ask for Region and Language (the default is U.S., English)

Your Name. First name will do.

Your CD shipped with a Product Key. Enter it now.

Computer Name and Administrator Password

Time Zone, Date & Time

Network Settings. Leave it as is.

Type in your workgroup name or leave as is if you don't have one.

When the basic install is finished you'll see this screen. Click Next.
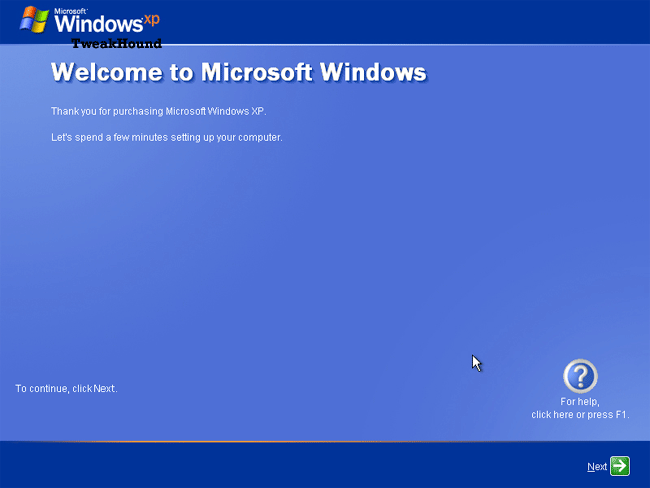
Choose your poison and click Next.
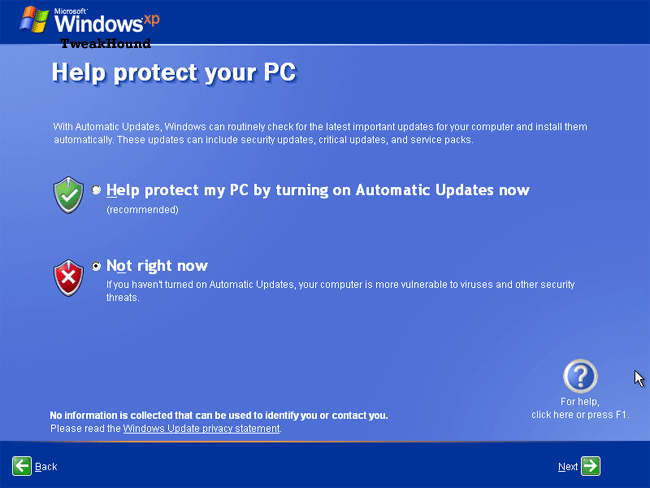
Choose your poison and click Next.
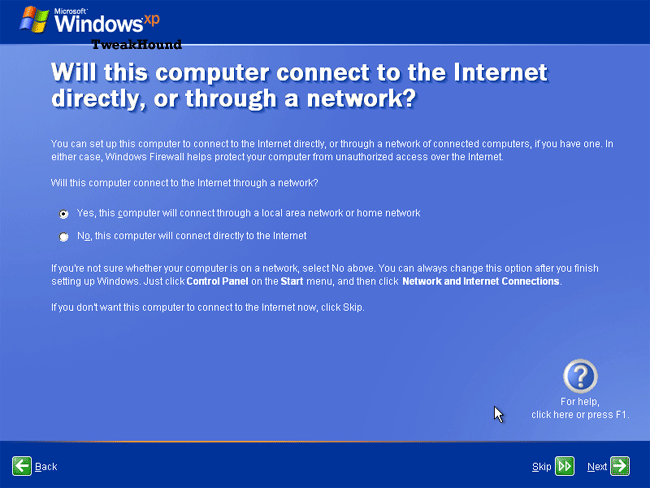
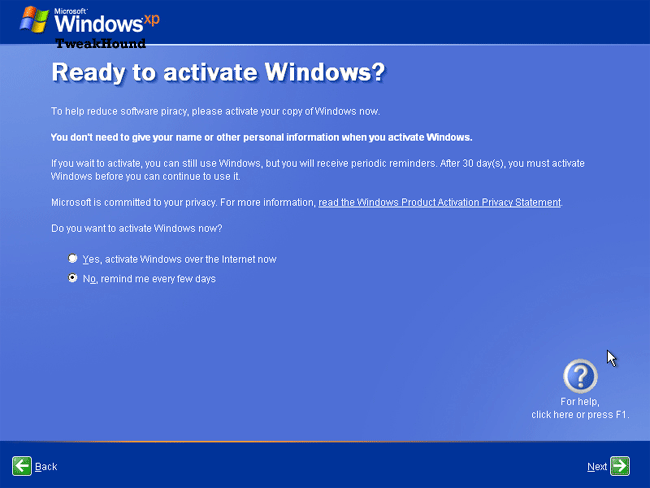
Absolutely DO NOT Activate yet! Click Next.
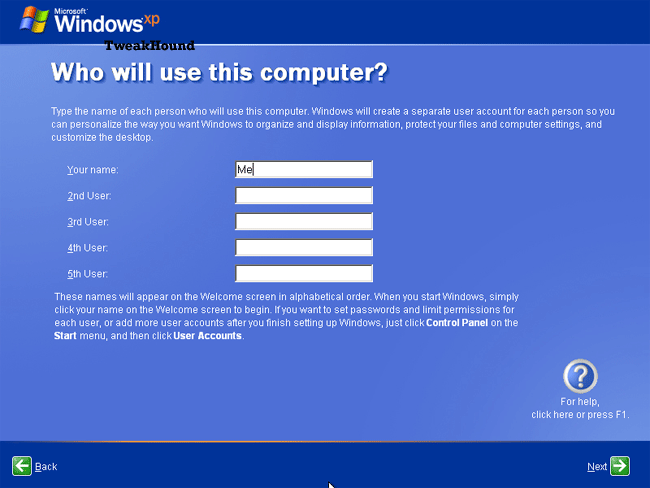
Fill in the appropriate info and click Next.
Finished!
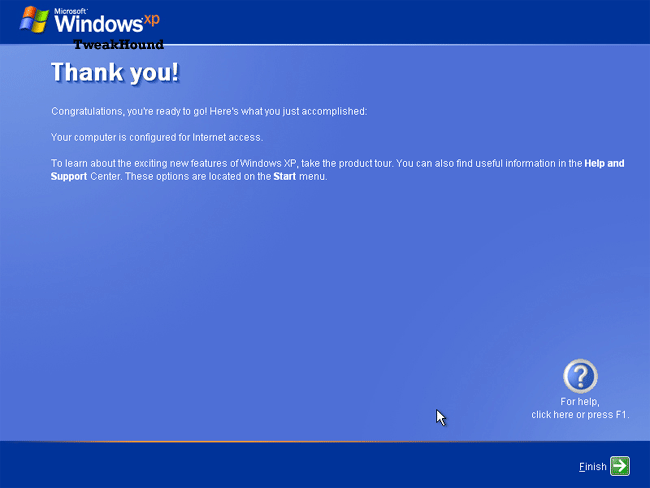
What the first screen looks like:
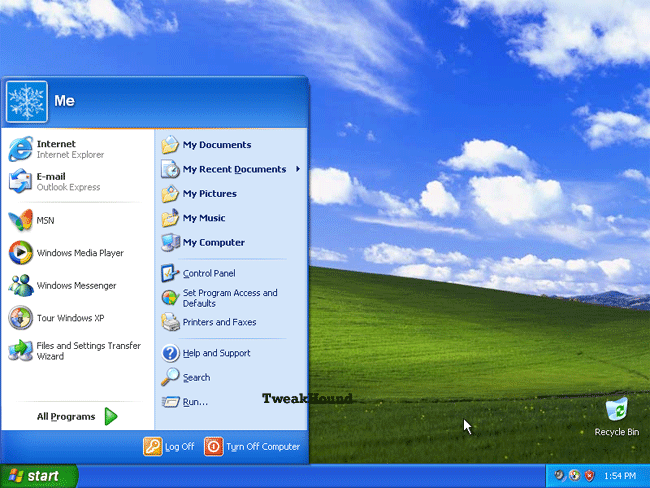
After Initial Installation
If you did not make a slipstreamed CD and you downloaded it ahead of time, install Service Pack 2.
Those with a newer computer or motherboard may need to install your motherboard or chipset drivers here. Use the CD that came with the hardware or that you downloaded, reboot.
For people who hate the new GUI you can switch to a more classic view. Right click on START > click properties > click the classic start menu button, now click CUSTOMIZE > place a check in the EXPAND CONTROL PANEL option. All CONTROL PANEL options can now be accessed from START > SETTINGS > CONTROL PANEL > (option) If you are like me and want to see all of the programs in the start menu (instead of a few items and some arrows at the bottom), uncheck the USE PERSONALIZED MENUS option. Click OK to close that box and APPLY to close the next.
What they look like:
(click on Thumbnails for a larger view)
| New Start Menu  | Classic Start Menu  |
Now load your video card drivers. The download page for those drivers had instructions on it for a reason. The biggest reason people have problems installing video cards is not following these instructions.
If you are going to add more user accounts to your computer, now is a good time to do it.
Reboot and start up in Safe Mode (press F8 while booting and choose Safe Mode)
Press the Windows & R keys > type cleanmgr /sageset:50 . Ensure there is a space between cleanmgr and / > click OK. In the resulting screen, choose your options by checking the boxes. I choose all but the bottom two. Click OK. Press the Windows & R keys > type cleanmgr /sagerun:50. When Disk cleanup is finished, Reboot.
Windows Update
*Note to wi-fi users. I recommend you use a wired connection for everything until XP is completely setup. Disable the wi-fi connection on first boot or as soon as you get the drivers installed. To disable the connection Open your Network Connection Properties, go to Start > Run > type control ncpa.cpl exactly as you see here > right-click on the wi-fi connection and choose disable.
Now you need to load your ISP software, or configure your computer for your broadband connection. If XP didn't already install the NIC/modem drivers for you, install them now. Then load your ISP software.
Sign on to the web. DO NOT check email, DO NOT IM, just go to Windows Update ( START >WINDOWS UPDATE).
Now...Microsoft has decided to be a royal PITA and has introduced a series of "validation" checks to ensure you are using a "valid" copy of XP. What it boils down to is they are assuming you are a criminal and you have to prove you aren't. This is also a major inconvenience because you'll now have to activate XP instead of being able to wait to make sure everything is running right before activating. A series of screens will pop up asking to install this and that. You want to update automatically you have no choice. Click yes, next install, whatever and get that stuff installed.
When all that Bravo Sierra is finished, click on the SCAN FOR UPDATES link. You'll get a choice between Express Install and Custom Install. Choose Custom Install. Install the High Priority Updates, under the Software, Optional section choose >.NET Framework, and Windows Media Player 10, Check the Hardware, Optional section to see if anything is there and check those too. When those are finished, reboot sign on to Windows Update again and install any remaining High Priority updates. Reboot into Safe Mode again and run cleanmgr /sagesrun:50
Install Remaining Hardware
***Try to follow the manufactures instructions on installing your hardware. Check your manual or the manufacturers support pages for these. Some hardware may require you to install software before installing/attaching hardware.
Open DEVICE MANAGER
To open DEVICE MANAGER: Press the Windows + R keys, type in devmgmt.msc .
Any hardware without a driver will be in a section with a yellow question mark:
Device Manager
(click on Thumbnail for a larger view)

If that hardware has a CD or file that will automatically install everything, run it now.
If you have anything left in DEVICE MANAGER that hasn't had its driver installed, try the following before attempting to install the driver manually.
Right click on the device > choose UPDATE DRIVER > in the resulting screen choose Install the software automatically. If your lucky XP will already have the driver. If not you'll have to do it manually.
To install a driver manually: In DEVICE MANAGER, double-click that hardware item > Click the Reinstall Driver button > in the resulting screen check No, not this time and click Next >
- If you know exactly what driver you want to install choose Install from a list or specific location (Advanced) and in the following screens browse to the location of the file to install the driver. Insert the manufacturers CD if needed.
- If you do not know exactly what driver to install insert the manufacturer CD and choose Install the software automatically (Recommended) > If that does not work, go back and this time choose Install from a list or specific location (Advanced) > in the resulting screen in the Search for the best driver in these locations section check the box that says Include this location in the search and browse to the file that contains you driver. If that fails you'll have to do it manually.
If you need to partition and/or format other drives and partitions, do so now. You can do this from ADMINISTRATIVE TOOLS > DISK MANAGEMENT or use a program like Acronis Disk Director.
Install Peripheral Devices
This will be devices like printers, mp3 players, cameras, scanners, etc...
***Try to follow the manufactures instructions on installing your hardware. Check your manual or the manufacturers support pages for these. Some hardware may require you to install software before installing/attaching hardware. (SRC:Tweakhound)


